
For the past many weeks, we’ve been hard at work on the Project Avatar robot, and this week we hit a big milestone in our journey. In the last post, we discussed the design process, and now I was set in charge for assembling the hardware. Because we hadn’t tried like a design like this before, I had a number of things to test before fabricating all the components. The first was dovetailing plywood. I had never tried this method of construction, but laser cut a test piece, which fit very nicely. Given the success of that, I fabricated one half of the inside drive base. I glued it together, assembled the motor, and everything fit like a glove! I repeated the process for the other side, and fabricated the outside drive plates so I could get the bot driving. I picked up the necessary supplied from Dimond High (motors, gearboxes, linear slides, etc), and then assembled the drive base. Before long, I had it driving! (well… powered. I could plug the motors into a battery for full speed, and unplug to shut it off.)
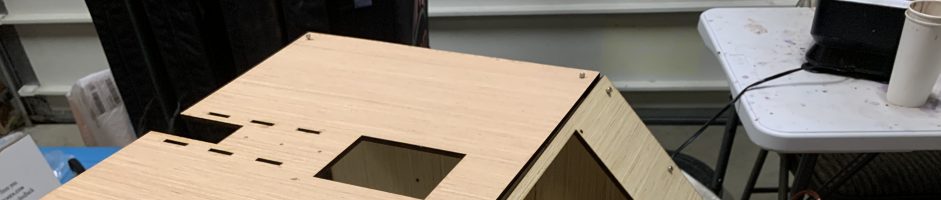
Yet the build process was still far from done. The next step was for the outside shell. I laser cut a number of components, and put an order in for an LCD screen to display the username. I also had a number of components that required 3D printing to hold everything together. The LCD came, and while Toya is the one doing the programming, I tested it out with an example file, and it looked fantastic! I assembled that into the shell, and got the other components connected as well.
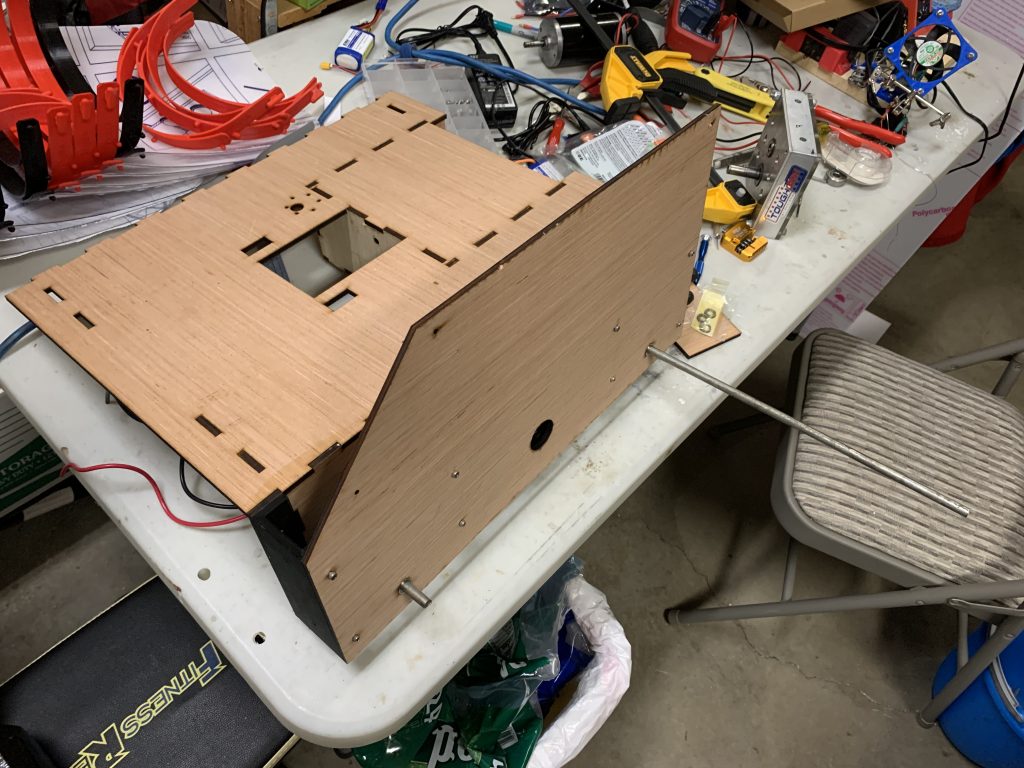
The next step was the slide. Originally, we were planning on creating the inside first, and then once we got it driving as a proof of concept, we’d invest time in implementing the slides and such. However, we planned to send this to Zoe in Fairbanks to paint, so we needed everything ready before then. The lift required some modification because originally it wasn’t made to be modular, however we needed to keep the volume small to reduce shipping costs. I found a clever solution by securing it to both the frame and shell without compromising looks. I also 3D printed some pieces to mount the lift, and got it strung up. I mounted the winding motor to the base, and strung the lift. There was no spring to counter the weight of the lift, so to compensate I needed a 60:1 motor with the string winding on the shaft, making it very slow to lift. It proved the lift worked though!
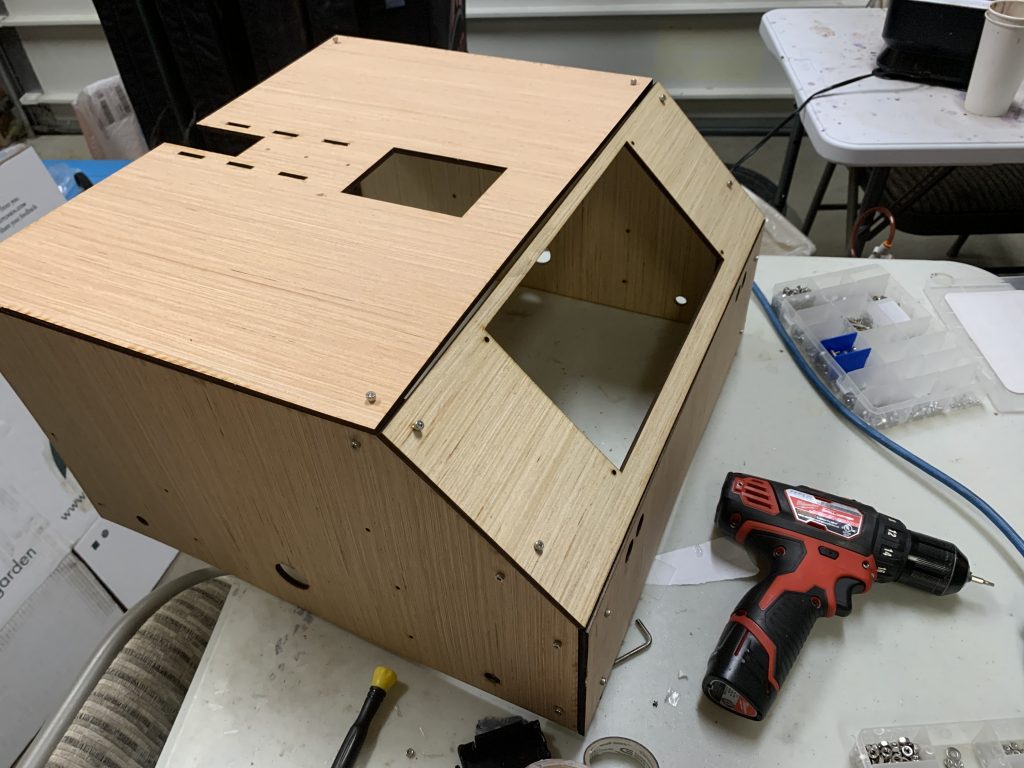
The final piece was the back panel. Originally this was just going to be screwed on, but I was feeling creative so decided to make it a bit more accessible. Because the back is where the electronics are accessed and what you need to open to unplug the battery, we decided to make a hatch that can open without a screwdriver. The original plan was to have a latch at the bottom, but that would be a bit awkward given the low clearance, so instead I created four latches on the corners to hold everything. Taking inspiration from other hatches I’ve used like car back doors and laser cutters, I added a tension spring to the back, which tensions as the hatch lifts about halfway, then contracts. This means when the hatch is up, the spring is holding it up, and when it is down, the spring holds it down. I also added magnets to the bottom for the satisfying snap when it clicks into place.
With all that done, I was finished with my portion. We’re about 3 weeks behind schedule unfortunately, but we have a while until the lab reopens, meaning it won’t be as necessary until then. I laser cut a second copy of the side plates because those are both needed to paint and to drive, and split the other components into the shell and base. The base was sent to Toya to implement the electronics and for programming, while the shell and bumpers were sent to Zoe for painting and assembly. Because Zoe lives hundreds of miles away, I created a custom sized box to minimize the cost of transport. We look forward to the next stages of Project Avatar, and before long, getting to drive it!